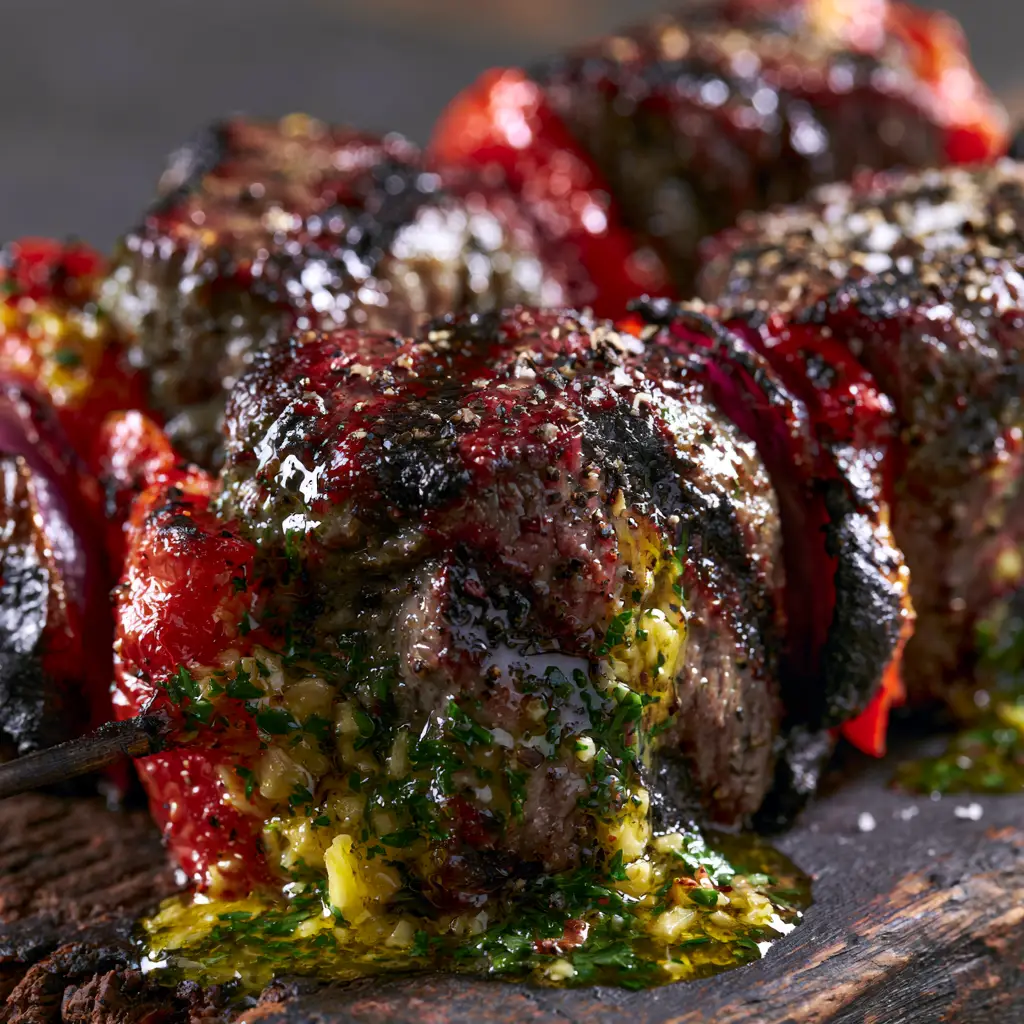
When it comes to the ultimate outdoor dining experience, nothing quite captures the imagination like the sight of succulent steak kabobs sizzling over an open flame. Imagine thick, hand-cut beef cubes, perfectly seared with deep, dark grill marks that hint at a smoky, caramelized exterior. As they rest on a rustic wooden board, a generous dollop of garlic herb butter begins to transform, turning into a golden, glistening river that pools around the meat and vegetables.
The visual appeal of these steak kabobs is undeniable, especially when the vibrant green of freshly chopped parsley and the pale ivory of minced garlic are suspended within that melting butter. Every element, from the blistered skins of the red bell peppers to the charred, sweet edges of the red onion petals, is designed to create a sensory explosion. This isn’t just a meal; it’s a high-end culinary event that you can recreate in your own backyard or kitchen.
In this guide, we are diving deep into the science of the sear and the art of the compound butter to ensure your kabobs look exactly like a professional food blog photograph. We will focus on achieving that medium-rare perfection while ensuring your vegetables are charred just enough to release their natural sugars without losing their structural integrity.
The Anatomy of a Perfect Steak Kabob
- Ultra-Premium Sear: Achieving deep, defined grill marks is the secret to both flavor and visual drama, thanks to the Maillard reaction.
- The Glistening Finish: A finishing touch of melting garlic herb butter provides a high-gloss, wet surface that keeps the meat succulent.
- Textural Contrast: We pair the tender, juicy beef with the snap of blistered red bell peppers and the soft, caramelized layers of red onions.
- Seasoning Precision: A final dusting of coarse sea salt and cracked black pepper adds a crystalline crunch and a bold punch of heat.
The Premium Components for Unforgettable Steak Kabobs
The success of this dish starts with the quality of your beef. For the best steak kabobs, we recommend using top sirloin or ribeye, as these cuts offer the perfect balance of fat and tenderness.
Beef Sirloin or Ribeye (2 lbs / 900g): Cut these into uniform 1.5-inch (3.8cm) cubes to ensure they cook evenly and reach that perfect medium-rare center. The thick cut allows for a heavy sear on the outside without overcooking the inside.
Red Bell Peppers (2 large): These provide a sweet, crunch contrast to the savory meat. When exposed to high heat, their skins blister and char, creating a smoky depth of flavor.
Red Onions (1 large): We peel these into “petals” rather than chunks. This allows more surface area to touch the heat, leading to those beautiful charred, caramelized edges.
Unsalted Butter (1/2 cup / 113g): This is the base of our finishing sauce. Use high-quality European-style butter for a richer, more golden pool of sauce.
Fresh Garlic (4-5 cloves): Minced finely, this garlic infuses the melting butter. It provides a sharp, aromatic bite that cuts through the richness of the beef.
Fresh Parsley (1/4 cup / 10g): Finely chopped parsley adds the “vibrant green” visual cue. It also provides a fresh, earthy finish to the heavy flavors of the meat.
Avocado Oil or Grapeseed Oil (2 tbsp / 30ml): These high-smoke-point oils are essential for searing. They allow the grill or pan to get screaming hot without the oil burning or turning bitter.
Coarse Sea Salt and Cracked Black Pepper: These aren’t just for flavor; they provide the “light dusting” visual effect. The coarse texture is visible on the glistening surface of the meat.
Wooden Skewers: The traditional vehicle for our kabobs. Be sure to soak them to prevent them from burning during the high-heat cooking process.
Essential Culinary Tools for Professional Results
To achieve the “extreme macro” look of a professional food blog, you need the right tools to manage heat and presentation. High-quality skewers and a reliable heat source are non-negotiable for steak kabobs.
A heavy-duty cast iron grill pan or an outdoor charcoal grill is necessary for those deep char marks. You will also need a digital meat thermometer to ensure you hit the 135°F (57°C) mark for a perfect medium-rare interior.
Don’t forget a small saucepan for melting the garlic butter and a sharp chef’s knife for precisely dicing the beef and vegetables. Uniformity in your cuts is the difference between a messy plate and a masterpiece.
The Master Blueprint: Step-by-Step Execution
Phase 1: Preparing the Foundation
Begin by soaking your wooden skewers in cold water for at least 30 minutes. This prevents the wood from splintering or catching fire under the intense heat required for searing beef.
While the skewers soak, prepare your garlic herb butter. In a small saucepan, melt the butter over low heat until it just begins to foam, then stir in the minced garlic. Remove from heat immediately and stir in the chopped parsley; the residual heat will soften the garlic without browning it.
Phase 2: Precision Cutting and Assembly
Pat the beef cubes dry with paper towels. Moisture is the enemy of a good sear; for the steak kabobs to glisten, they must first be dry enough to brown quickly.
Thread the skewers, alternating between a cube of beef, a petal of red onion, and a chunk of red bell pepper. Ensure the ingredients are snug but not squashed together, allowing the heat to circulate around each piece.
Phase 3: The High-Heat Sear
Brush the assembled kabobs with your high-smoke-point oil. Season them aggressively on all sides with a portion of the coarse sea salt and cracked black pepper.
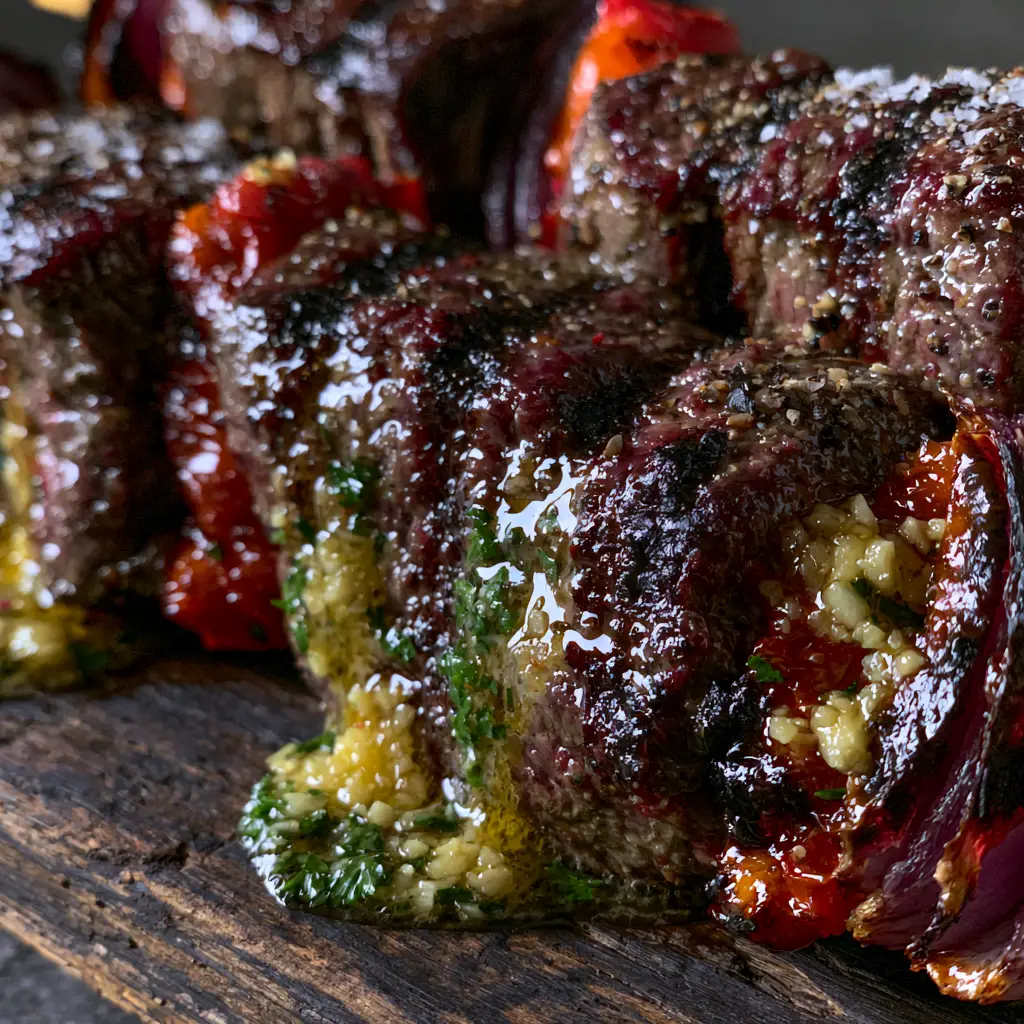
Heat your grill or cast iron pan until it is smoking hot. Place the kabobs down and do not move them for 2-3 minutes. You are looking for those deep, charred grill marks described in the visual prompt.
Phase 4: The Finishing Touch
Rotate the kabobs every 2 minutes until an internal temperature of 130°F (54°C) is reached. Remove them from the heat and place them on a dark wooden board to rest.
Immediately spoon the garlic herb butter over the hot meat. Watch as it melts, creating a “wet surface” and pooling in the crevices of the beef. Add a final dusting of coarse salt and parsley flakes to catch the light.
Expert Tips for Success
- Temperature Control: Never cook steak straight from the fridge. Let the kabobs sit at room temperature for 20 minutes before searing to ensure even cooking.
- Crowding the Pan: If using a grill pan, cook in batches. Overcrowding drops the temperature, causing the meat to steam rather than sear, which ruins the “blistered” effect of the peppers.
- The Resting Period: Rest the kabobs for 5 minutes after cooking. This allows the juices to redistribute, ensuring every bite of your steak kabobs is succulent.
- Visual Sensory Cues: Watch for the onions to become translucent with blackened edges—this indicates the natural sugars have caramelized perfectly.
Storage, Reheating, and Freezing
Leftover kabobs can be stored in an airtight container in the refrigerator for up to 3 days. To reheat, avoid the microwave, which can turn the beef rubbery and grey.
Instead, place the meat and vegetables in a skillet over medium heat with a splash of water or more butter. Cover for 2 minutes to gently warm through while maintaining the medium-rare center.
For freezing, remove the meat and vegetables from the skewers and store in a vacuum-sealed bag for up to 2 months. Thaw overnight in the fridge before reheating.
What to Serve With These Glistening Kabobs
These steak kabobs are rich and savory, so they pair beautifully with bright, acidic side dishes. A fresh summer peach salad provides a sweet and tangy contrast that cleanses the palate between bites of buttery beef.
If you are looking for a more substantial meal, consider serving them alongside chilled sesame noodles or a light Vietnamese glass noodle salad. The cool noodles and zesty dressings balance the warmth of the charred meat perfectly.
For those looking for a different protein profile, you might enjoy comparing these to our perfectly seared tuna steaks, which use a similar high-heat technique but with a lighter, seafood twist.
Frequently Asked Questions
Yes, you can use the broiler setting. Place the kabobs on a wire rack over a baking sheet and broil for 4-5 minutes per side, keeping a close eye on them to prevent burning.
The secret is high heat and dry meat. Pat the beef cubes dry with paper towels and ensure your grill pan is smoking hot before adding the kabobs. This sears the exterior quickly while the middle remains medium-rare.
Use a digital meat thermometer. For medium-rare, you want to pull the beef off the heat when it reaches 130°F-135°F (54°C-57°C). The temperature will rise slightly as the meat rests.
Soak wooden skewers for at least 30 minutes in cold water. This saturates the wood fibers and prevents them from catching fire or splintering under high heat.
Top sirloin is the most popular choice because it is lean yet tender. For a more luxurious, fatty option, ribeye cubes work beautifully, while filet mignon provides the most tender bite.
The Ultimate Steak Kabobs Recipe
Steak Kabobs with Melting Garlic Herb Butter and Blistered Peppers
Ingredients
Equipment
Method
- Place wooden skewers in a shallow dish of water for 30 minutes to prevent burning.
- Melt butter in a small pan, stir in minced garlic, remove from heat and add parsley.
- Thread beef, onion petals, and pepper chunks onto skewers. Brush with oil and season with salt and pepper.
- Place on a smoking hot grill pan. Cook for 2-3 minutes per side until charred and internal temp reaches 130F (54C).
- Rest for 5 minutes. Spoon the melting garlic butter over the kabobs and finish with extra sea salt.
Notes
Ensure the beef is at room temperature before it hits the pan for the best internal color.
Closing & Call to Action
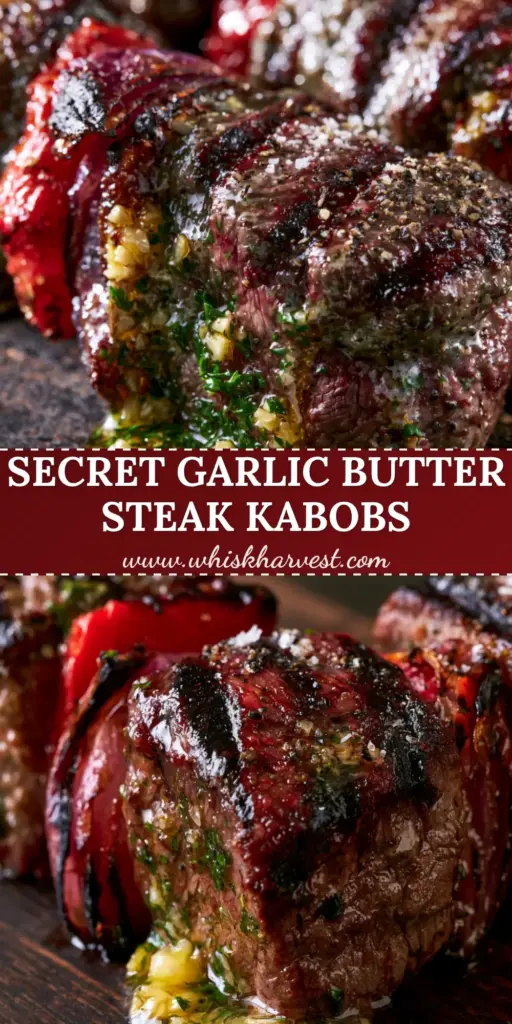
There is nothing quite like the combination of fire-seared beef and a rich, garlic-infused butter sauce. These steak kabobs are designed to be the centerpiece of your next gathering, offering a professional-grade aesthetic with approachable, honest flavors. The key is in the details—the char on the onions, the blister on the peppers, and that unmistakable golden drip of butter.
If you enjoyed this recipe, please leave a comment below and let us know how your sear turned out! Don’t forget to follow us on Pinterest and share your creations with the community. Sign up for our newsletter to receive more high-gloss culinary inspiration delivered straight to your inbox.