There is something undeniably nostalgic about a humble sleeve of saltine crackers, but when you transform them into Dill pickle saltines, you are elevating a childhood staple into a gourmet snack powerhouse. Imagine a cracker so perfectly seasoned that every crevice is filled with a dusting of tangy ranch and pungent garlic, all held together by a glistening, herb-infused oil that catches the light like a culinary jewel. This isn’t just a quick bite; it is a sensory experience that combines the sharp, vinegary snap of a classic deli pickle with the buttery crunch of a golden-brown cracker.
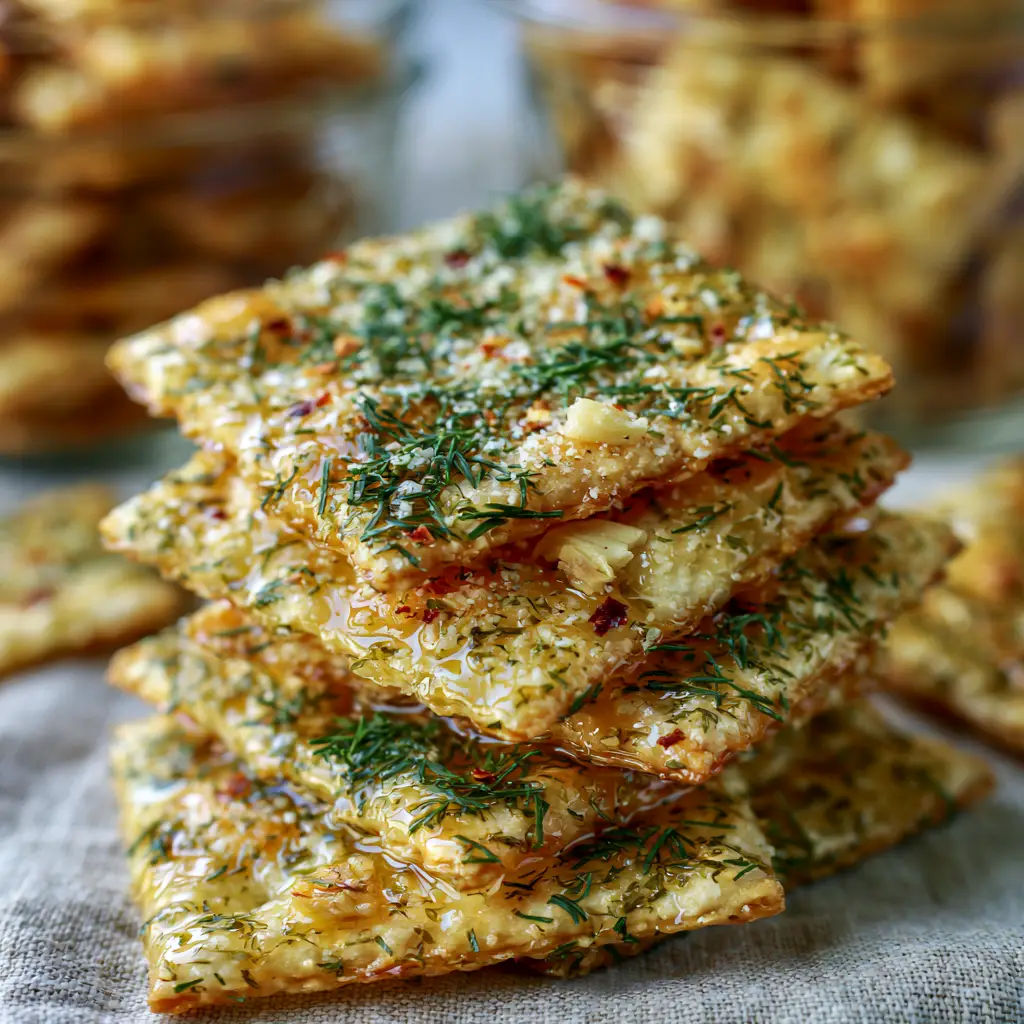
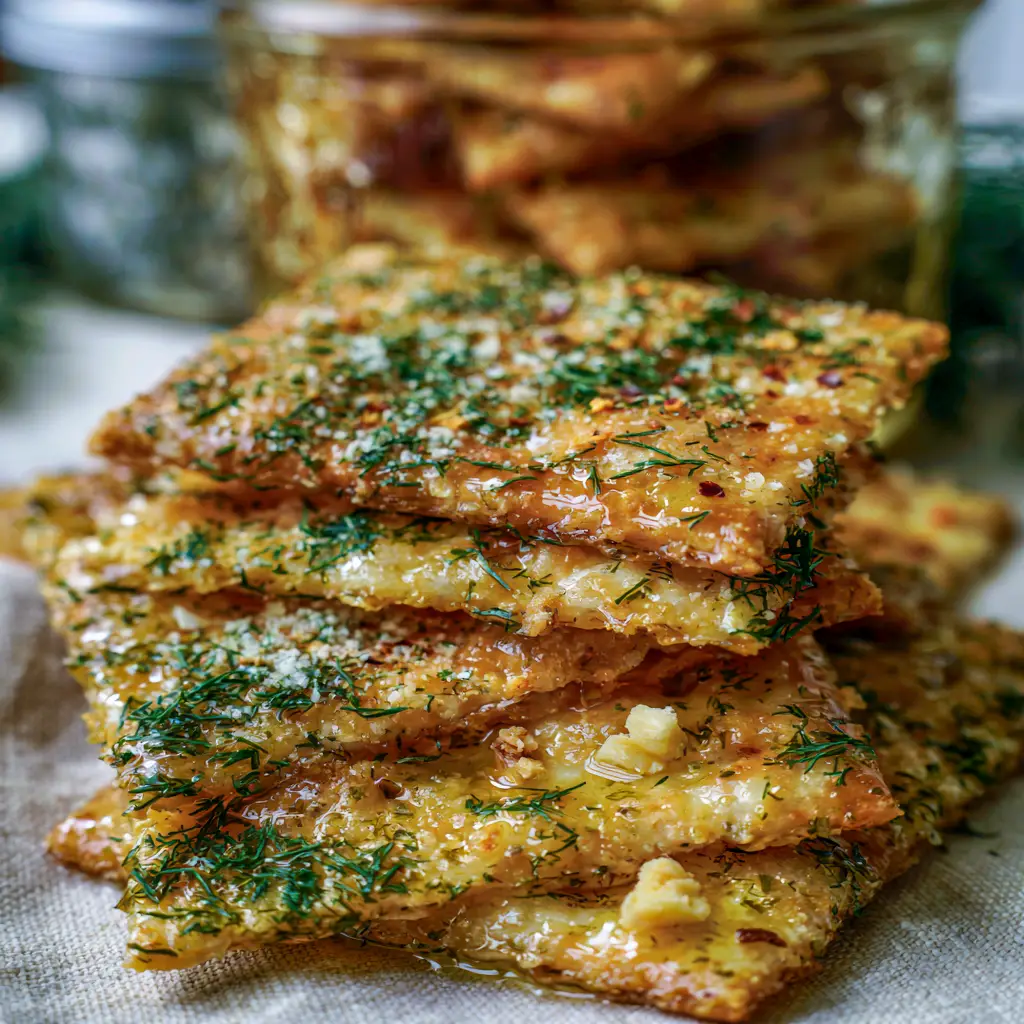
When you look closely at these crackers—as if through an extreme macro lens—you can see the intricate landscape of the seasoning. The vibrant green of the dried dill weed stands out against the fine, white ranch powder, while the tiny, fiery sparks of crushed red pepper flakes promise a subtle heat that lingers on the palate. Whether you are serving these in a rustic glass mason jar for a backyard barbecue or packing them for a weekend hike, these seasoned crackers are guaranteed to be the most talked-about item on the table.
Why You Will Crave This Tangy Cracker Transformation
- The Perfect Glisten: Unlike dry, dusty snacks, these crackers feature a translucent, herb-infused oil coating that provides a rich mouthfeel without being greasy.
- Visual Texture: The heavy dusting of dill and ranch creates a stunning contrast of forest green and snow white, making them as beautiful as they are delicious.
- Crave-Worthy Crunch: We use a specific “low and slow” infusion method to ensure the crackers stay crisp while absorbing maximum pickle-inspired flavor.
- Foundational Aromatics: The inclusion of minced dried garlic provides a rustic texture and a savory depth that balances the bright acidity of the ranch.
The Flavor Arsenal: Essential Ingredients for Your Herb-Infused Crackers
To achieve the exact visual and flavor profile of these Dill pickle saltines, you need a combination of pantry staples and specific aromatics. Each ingredient serves a structural and sensory purpose in the final dish.
Saltine Crackers (1 box / 4 sleeves / 450g): The base of our recipe provides the essential golden-brown canvas and the structural integrity needed to hold the heavy seasoning. Its internal salt content acts as a natural flavor enhancer for the herbs.
Vegetable Oil (1 cup / 240ml): This is the vehicle for flavor. We use a neutral oil to allow the dill and ranch to shine, creating that glistening, translucent coating seen in the professional photography.
Dried Dill Weed (3 tbsp / 12g): For that “heavy” herb look, we use a significant amount of dried dill. It provides the signature “pickle” green color and a fresh, grassy aroma that hits you as soon as you open the jar.
Dry Ranch Seasoning Mix (1 packet / 28g): This provides the “fine white dust.” It contains the buttermilk solids and citric acid necessary to mimic the tangy brine of a real dill pickle.
Minced Dried Garlic (2 tsp / 6g): These tiny bits of garlic get trapped in the dimples of the crackers. They provide a crunchy, savory element that prevents the snack from being one-dimensional.
Crushed Red Pepper Flakes (1 tsp / 2g): These offer a visual pop of red and a slow-building heat. Even if you aren’t a fan of spice, these are essential for the “culinary forensics” of the visual blueprint.
Precision Tools for the Perfect Seasoned Snack
You don’t need a high-tech kitchen to master Dill pickle saltines, but a few specific tools will help you achieve that professional, even coating. A large, airtight gallon-sized bag is my preferred “mixing bowl” because it allows you to tumble the crackers gently without breaking them, ensuring every square millimeter is covered in oil and herbs.
If you prefer a more sustainable approach, a very large stainless steel mixing bowl with a tight-fitting lid works wonders. You will also want a rustic glass mason jar for the final presentation. Not only does it look beautiful on a neutral linen textile, but it also keeps the crackers airtight and exceptionally crisp for up to two weeks.
The Step-by-Step Blueprint for Herb-Crusted Success
1. Creating the Herb-Infused Oil Emulsion
In a medium mixing bowl, whisk together your 1 cup (240ml) of vegetable oil with the dry ranch seasoning, dried dill weed, minced garlic, and red pepper flakes. The goal is to create a suspended emulsion where the spices are evenly distributed throughout the oil. You want the ranch powder to be fully integrated so it doesn’t clump, but you should still see the distinct “vibrant green” flecks of dill floating in the mixture.
2. The Gentle Tumble Method
Place your saltine crackers into a large container or bag. Slowly pour the herb-infused oil over the crackers. Instead of shaking violently, use a gentle “turning” motion. Imagine you are folding a delicate cake batter; you want to coat the golden-brown surfaces without fracturing the delicate edges of the saltines. Let them sit for 10 minutes, then turn the bag again to ensure the oil that settled at the bottom is redistributed.
3. Setting the Glisten (The Optional Bake)
For the most “handheld smartphone photo” worthy result, you can lay the crackers out on a baking sheet in a single layer. Bake at a very low 250°F (120°C) for just 8-10 minutes. This doesn’t “cook” the crackers, but it “sets” the oil and seasonings into the pores of the cracker, ensuring the ranch seasoning stays as a fine dust rather than falling off. You’ll know they are done when they appear glistening but feel dry to the touch.
Expert Tips for the Ultimate Dill Pickle Experience
- Quality of Dill: Use a freshly opened jar of dried dill weed. Older dill loses its vibrant green color and turns a dusty grey, which will ruin the visual appeal of your snack.
- The Resting Period: While tempting to eat immediately, these Dill pickle saltines are actually better after 24 hours. This allows the oil to penetrate the cracker fully, creating a uniform flavor profile.
- Temperature Control: If you are baking them to set the seasoning, do not exceed 250°F (120°C). Any higher and the buttermilk solids in the ranch seasoning may scorch, turning your white dust into bitter brown spots.
- Oil Choice: While I recommend vegetable oil for its neutral profile, you can use a light olive oil for a more Mediterranean flair, though it may slightly yellow the “white ranch” visual.
Creative Pairings: What to Serve with Your Seasoned Crackers
These Dill pickle saltines are incredibly versatile. They are a natural companion to a cold beer or a crisp white wine, but they also shine when paired with more complex dishes. I love crumbling them over a summer peach salad to add a salty, herbal crunch that cuts through the sweetness of the fruit.
If you are looking for a more substantial meal, serve these crackers alongside steak kabobs as a crunchy side dish. They also work surprisingly well as a side for a tangy mango cucumber salad, where the dill notes complement the fresh cucumber perfectly. For the ultimate snack board, pair them with parmesan crisps for a variety of textures and cheesy flavors.
Maintaining the Crunch: Storage and Shelf Life
To keep that “crisp and perfectly seasoned” texture, storage is key. Once the crackers have cooled completely (if you chose the baking method), transfer them to a glass mason jar. The glass doesn’t absorb oils or smells like plastic can, ensuring the dill flavor remains pure. These will stay fresh at room temperature for up to 14 days, though they rarely last that long in most households!
Avoid refrigerating the crackers, as the humidity in the fridge will turn your golden-brown saltines into a soggy mess. If you live in a particularly humid climate, you can add a food-safe desiccant packet to the jar to ensure they stay as snappy as the day you made them.
Frequently Asked Questions About Seasoned Saltines
The spice level is very mild. The red pepper flakes are primarily for visual contrast and a subtle depth of flavor, rather than an intense heat.
Absolutely! You can substitute the traditional saltines with your favorite gluten-free round or square crackers, though the texture may vary slightly.
For this specific recipe, dried dill weed is superior. Fresh dill contains moisture that can make the saltines lose their crunch, and it won’t provide the same ‘fine dust’ visual effect.
When stored in an airtight glass mason jar, these crackers stay perfectly crisp and flavorful for up to two weeks at room temperature.
Sogginess usually occurs if too much oil was used or if the crackers didn’t have enough time to ‘set’ in a low oven. Ensure you follow the 1 cup to 4 sleeve ratio exactly.
The Official Dill Pickle Saltines Recipe
Dill pickle saltines: The Ultimate Tangy, Herb-Crusted Pantry Snack
Ingredients
Equipment
Method
- In a medium bowl, whisk together the vegetable oil, ranch seasoning, dried dill, dried garlic, and red pepper flakes until well combined.
- Place crackers in a large bag or bowl and pour the oil mixture over them. Gently tumble the crackers until every surface is coated in the glistening, translucent herb-infused oil.
- Allow the crackers to rest for 10-15 minutes, tossing occasionally to redistribute the oil.
- Optional: Preheat oven to 250°F (120°C). Spread crackers on a baking sheet and bake for 8-10 minutes to set the seasoning. Do not over-brown.
- Cool completely before transferring to a rustic glass mason jar for a crisp finish.
Notes
Ensure dill is fresh for the most vibrant green color.
Closing & Call to Action
These Dill pickle saltines are a testament to the power of simple ingredients treated with care. By focusing on the visual cues—the glistening oil, the heavy dill, and the fine ranch dust—you can create a snack that looks like it belongs on the front page of a culinary magazine. If you enjoyed this recipe, please leave a comment below and let me know how yours turned out!
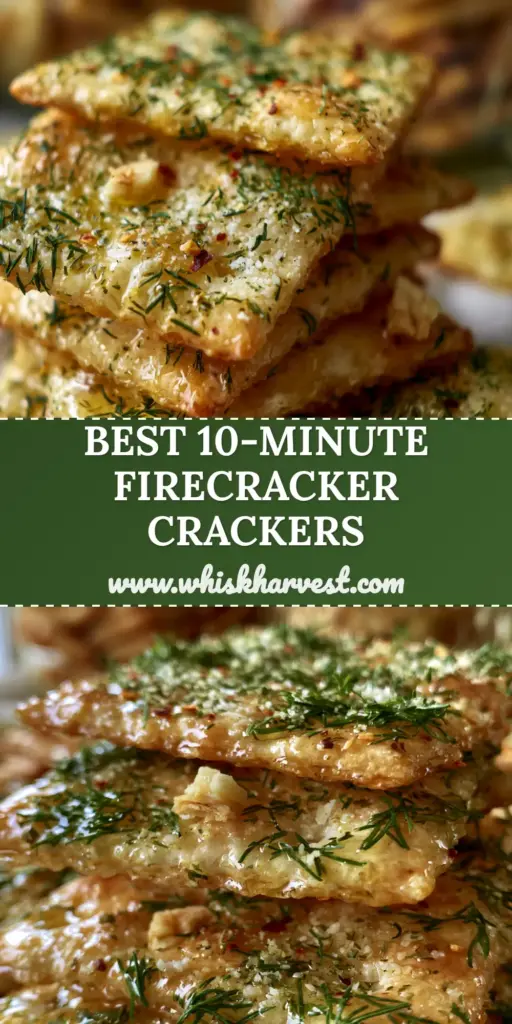
Don’t forget to follow us on Pinterest for more visually stunning recipe inspiration. Save this recipe to your “Snack Attack” or “Party Food” boards by pinning the image below so you always have it on hand!