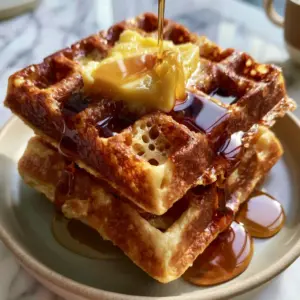
There is a specific kind of magic that happens when high-protein dairy meets a searing hot iron. Greek yogurt waffles are not just a healthy alternative to the standard breakfast fare; they are a culinary revelation in texture and depth. Imagine a waffle that offers a definitive, audible crunch as your fork pierces the golden-brown exterior, only to reveal a steaming, ultra-airy, and fluffy white interior that practically melts on your tongue.
In this guide, we are going to master the science of the perfect “honeycomb” grid. We will explore how the acidity in the yogurt reacts with leavening agents to create those characteristic deep pockets that are just begging to be filled with glistening amber honey. Whether you are looking for a weekend treat or a staple for your meal prep rotation, these waffles deliver professional-grade results every single time.
By focusing on the specific chemistry of Greek yogurt, we can achieve a structural integrity that traditional batters often lack. This recipe is designed to produce a tall, aesthetic stack of four thick Belgian-style waffles that look just as good as they taste. Let’s dive into the forensics of why this particular batter formula is the gold standard for home cooks and professionals alike.
The Anatomy of the Perfect Golden-Brown Waffle Stack
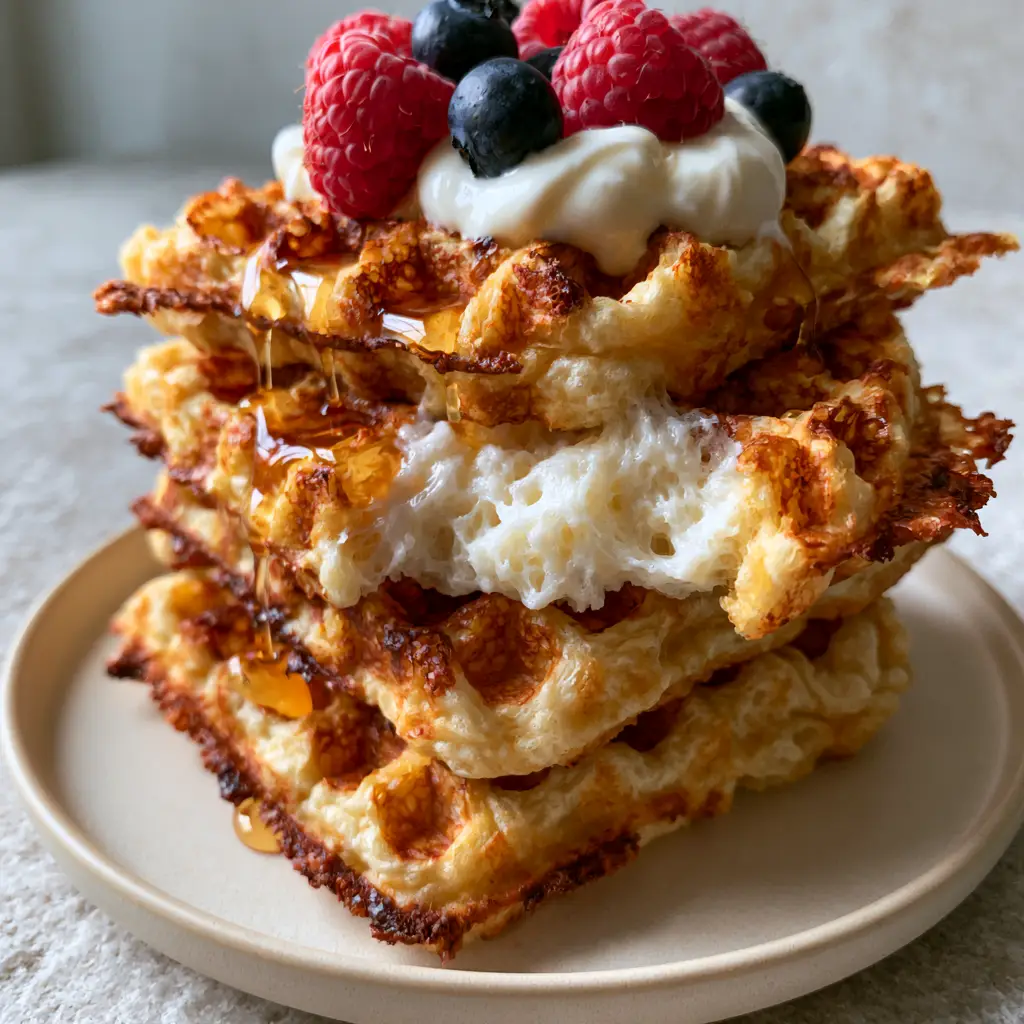
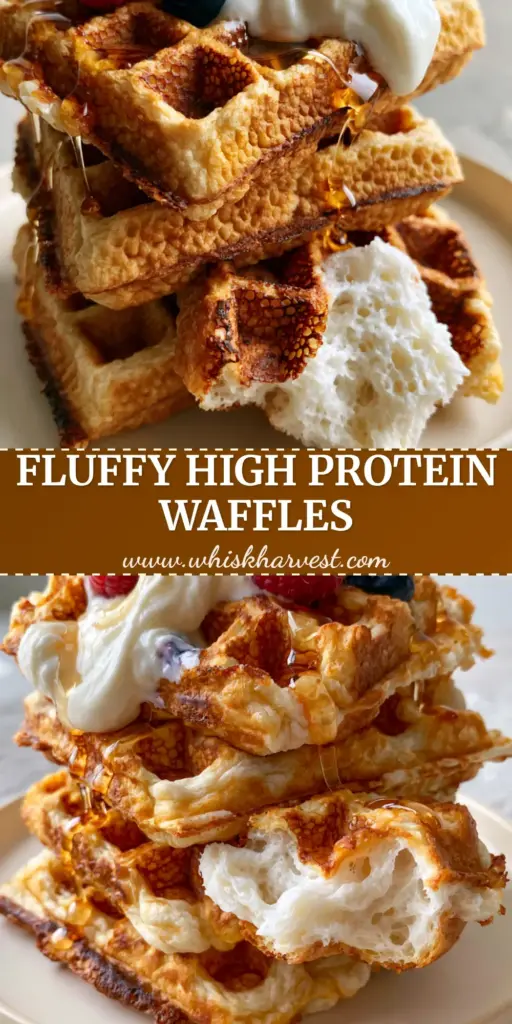
- The Exterior Crunch: Achieve a perfectly golden-brown finish with deep, crispy honeycomb grids and slightly toasted edges that hold their shape under toppings.
- The Cloud-Like Crumb: A torn-open waffle reveals a steaming, ultra-airy white interior texture that provides the perfect contrast to the crispy shell.
- The Probiotic Tang: The use of thick Greek yogurt adds a subtle, sophisticated tang that balances the sweetness of the glistening amber honey drizzle.
- The Visual Masterpiece: Designed to be served on a matte cream ceramic plate, topped with a snowy white Greek yogurt dollop, fresh raspberries, and dark blueberries.
If you have already mastered our golden butter waffles, you will appreciate the added complexity and protein boost this version provides. These are a foundational element of any rotation focused on high protein vegetarian meals without sacrificing the indulgence of a classic brunch.
The Essential Ingredients for Structural Integrity
Full-Fat Greek Yogurt: This is the backbone of the recipe, providing the necessary acidity to activate the leavening agents. We recommend a thick, “snowy white” variety to ensure the batter remains viscous enough to create those tall, thick waffle ridges.
All-Purpose Flour and Cornstarch: While flour provides the structure, cornstarch is our “secret weapon” for that forensic level of crispiness. 2 cups (250g) of flour mixed with 2 tbsp (16g) of cornstarch ensures the exterior stays toasted while the interior remains fluffy.
Baking Powder and Baking Soda: We use a dual-leavening approach to maximize the “airy interior crumb” described in our blueprint. 1 tbsp (12g) of baking powder provides the initial lift, while 1/2 tsp (3g) of baking soda reacts with the yogurt for a secondary rise.
Melted Unsalted Butter: Fat is essential for heat conduction within the waffle iron grids. 1/2 cup (115g) of melted butter ensures the “slightly toasted edges” are rich in flavor and have a shattering crisp texture.
Fresh Berries and Honey: For the finishing touches, use 1/2 cup (60g) each of fresh whole raspberries and dark blueberries. A generous 2 tbsp (42g) drizzle of clear, glistening amber honey catches the morning light and ties the dish together.
Must-Have Equipment for Bakery-Style Results
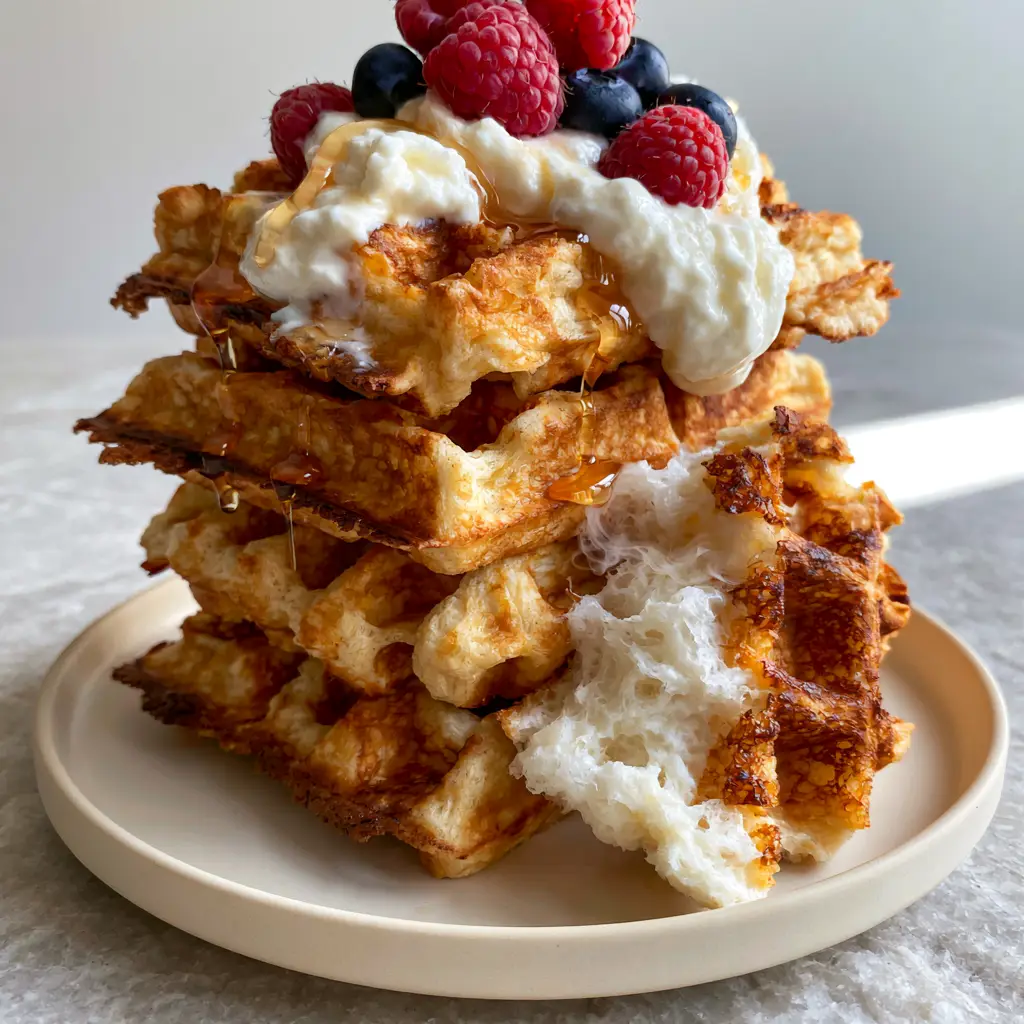
To achieve the “deep honeycomb grids” seen in our visual blueprint, a high-quality Belgian waffle maker is non-negotiable. These irons have deeper wells than standard waffle makers, allowing for the “tall, aesthetic stack” and the “ultra-airy” interior to develop properly during the steam-release phase.
You will also need a wire cooling rack. Never stack hot waffles directly on a plate immediately after removing them from the iron. Placing them on a rack for 30 seconds allows air to circulate, preventing the steam from softening that hard-earned golden-brown crust.
Finally, a matte cream ceramic plate is the preferred vessel for serving. The neutral, non-reflective surface of the ceramic makes the vibrant raspberries and the glistening honey drizzle “pop” visually, creating that professional food photography look.
Mastering the Golden-Brown Waffle Stack: Step-by-Step
1. Preparing the Dry Foundation
In a large mixing bowl, whisk together your flour, cornstarch, sugar, baking powder, baking soda, and a pinch of salt. The cornstarch is vital here; it interferes with gluten development just enough to ensure the interior stays tender while the outside turns into a crispy shell.
Ensure there are no large clumps in your dry mix. A uniform distribution of leavening agents is what leads to those perfectly even, deep honeycomb grids without any flat spots or “dud” sections in the waffle.
2. Emulsifying the Greek Yogurt Base
In a separate vessel, whisk together 1.5 cups (375g) of thick Greek yogurt, 2 large eggs, and 1 cup (240ml) of whole milk. The mixture should be thick, creamy, and snowy white, resembling a heavy custard more than a liquid.
Slowly stream in your melted butter while whisking constantly. This creates an emulsion that will coat the flour particles, resulting in the “slightly toasted edges” and rich mouthfeel we are aiming for in the final product.
3. The Gentle Fold Technique
Combine the wet and dry ingredients using a silicone spatula. Stop mixing as soon as no large streaks of flour remain; a few small lumps are perfectly fine and actually help create a more airy interior crumb.
Over-mixing at this stage will lead to a tough, rubbery waffle. We want to preserve the air bubbles created by the reaction between the yogurt and the baking soda to ensure the waffles are steaming and fluffy when torn open.
4. The Precision Sear
Preheat your Belgian waffle iron to a medium-high setting. Pour roughly 3/4 cup (180ml) of batter into the center, allowing it to spread naturally toward the edges as you close the lid.
Listen for the steam. As the moisture evaporates, the waffle will develop its golden-brown crispy exterior. Cook until the steam stops rising and the edges look visibly toasted and firm to the touch.
Expert Tips for High-Protein Waffle Success
- Room Temperature Ingredients: Ensure your eggs and yogurt are at room temperature. This prevents the melted butter from seizing up, ensuring a smooth batter and an even crumb.
- The “Flash” Oven Method: For maximum crispiness, place your finished waffles in a 200°F (95°C) oven directly on the rack for 5 minutes before serving. This drives off excess moisture.
- Don’t Peek: Resisting the urge to open the waffle iron too early is crucial. The structural integrity of the “deep honeycomb grids” depends on the steam pressure built up inside the closed iron.
- The Yogurt Dollop: Use a high-fat, strained Greek yogurt for the topping. It should be thick enough to sit as a “snowy white dollop” on top of the stack without immediately running off the sides.
Preserving the Crunch: Storage and Reheating
If you find yourself with leftovers from this 30 minute vegetarian meal, do not fret. These waffles freeze exceptionally well. Allow them to cool completely on a wire rack to prevent sogginess, then stack them with parchment paper in between and place in a freezer bag.
To reheat, avoid the microwave at all costs—it will turn your crispy masterpiece into a rubbery disc. Instead, use a toaster or a toaster oven on a medium setting. This will revive the toasted edges and the golden-brown color, making them taste as fresh as the day they were made.
What to Pair with Your Greek Yogurt Waffles
While these waffles are a star on their own, they pair beautifully with other brunch staples. If you are looking for a fruity companion, our raspberry lemon ricotta muffins share a similar flavor profile and use of high-quality dairy.
For a refreshing drink to cut through the richness of the honey and yogurt, try a blackberry coconut pink drink. The acidity of the berries in the drink complements the fresh raspberries scattered across your waffle stack.
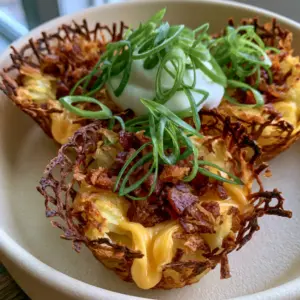
If you prefer a more savory breakfast spread, consider serving these alongside some loaded hashbrown bites to hit that perfect salty-sweet balance that defines an elite weekend brunch.
Frequently Asked Questions
It is best to make the batter fresh. The reaction between the yogurt’s acidity and the baking soda happens quickly; waiting too long will result in a less airy interior.
Yes, but for the best ‘toasted edges’ and rich crumb described in the blueprint, full-fat or 2% yogurt is recommended. Fat helps with heat conduction in the waffle iron.
Use a thick, strained Greek yogurt (like Fage 5%) and ensure it is cold. A cold dollop on a hot waffle creates that aesthetic ‘partially melting’ effect seen in food photography.
Soft waffles are usually caused by trapped steam. Make sure to use cornstarch in the batter and always cool your waffles on a wire rack rather than stacking them immediately.
The Definitive Greek Yogurt Waffles Recipe
Greek yogurt waffles: The Ultimate Guide to Crispy, Airy Perfection
Ingredients
Equipment
Method
- In a large bowl, whisk together flour, cornstarch, baking powder, baking soda, and sugar until uniform.
- In a separate bowl, whisk Greek yogurt, milk, eggs, melted butter, and vanilla until smooth and creamy.
- Fold the wet ingredients into the dry ingredients until just combined. Do not over-mix; lumps are okay.
- Heat your waffle iron. Lightly grease if necessary, though the butter in the batter usually prevents sticking.
- Pour batter into the center of the iron and cook until the exterior is golden-brown and the edges are toasted.
- Serve on a matte cream plate with a dollop of yogurt, fresh berries, and a generous honey drizzle.
Notes
Always reheat in a toaster to maintain the honeycomb grid texture.
Join the Whisk & Harvest Community
There is nothing quite like the satisfaction of pulling a perfectly golden-brown waffle from the iron. These Greek yogurt waffles represent the pinnacle of home-cooked breakfast—simple ingredients elevated through precise technique. We invite you to share your results with us! Did you achieve that ultra-airy crumb? Did the honey drizzle catch the light just right on your matte cream ceramic plate?
Leave a comment below or tag us in your breakfast photos. For more aesthetic food inspiration and foolproof recipes, be sure to follow us on Pinterest and sign up for our weekly newsletter. Let’s make every morning a little more delicious, one honeycomb grid at a time.