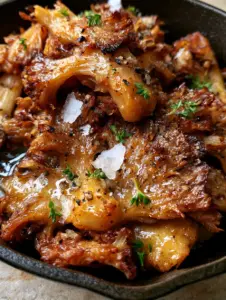
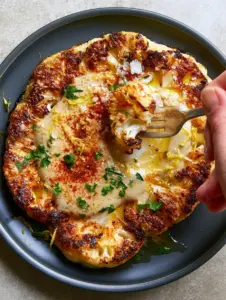
There is a profound difference between a soggy, gray mushroom and the sautéed mushrooms of your dreams—those deeply caramelized, golden-brown gems with crispy edges and a glistening buttery sheen. If you have ever wondered why restaurant mushrooms have that intense umami punch and perfect snap, you are in the right place.
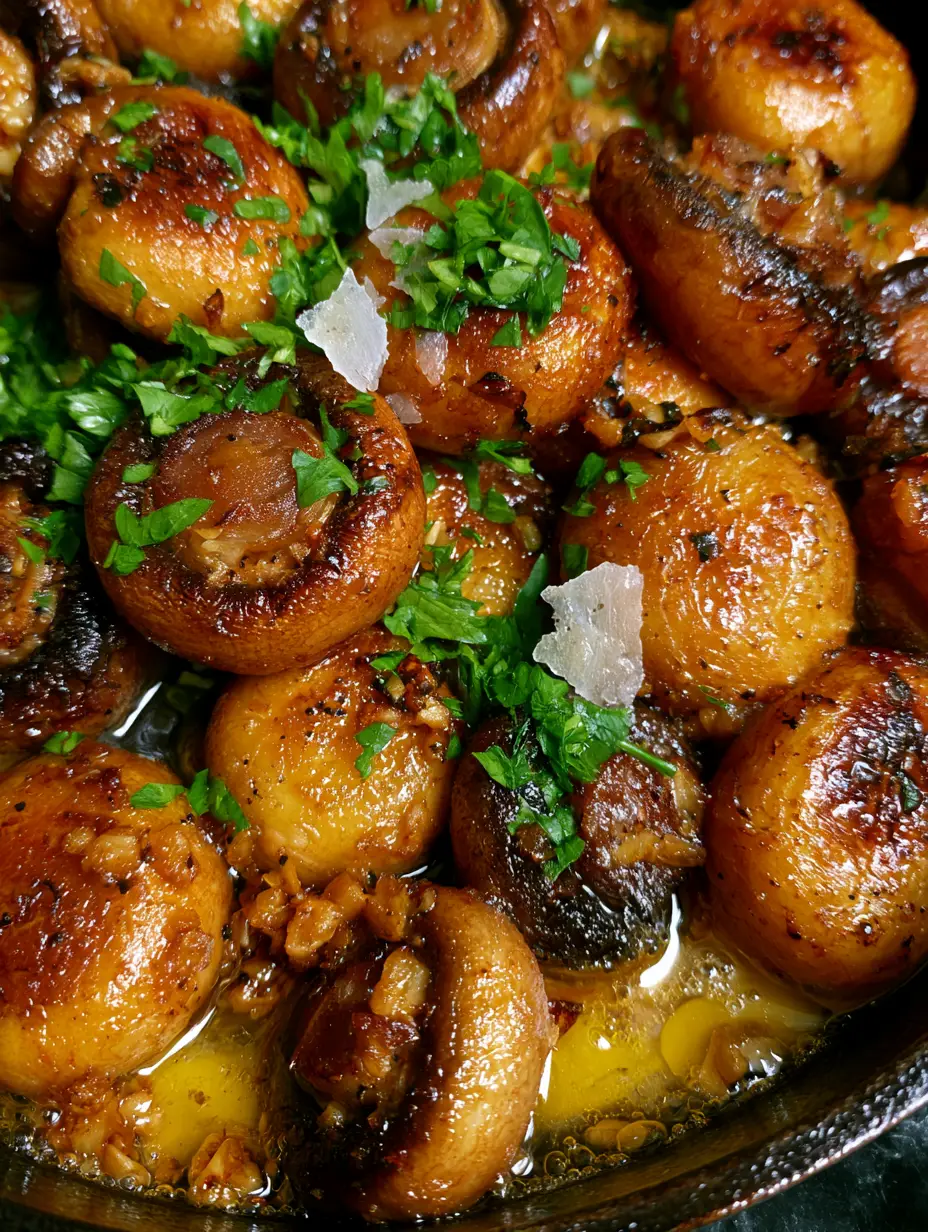
Imagine a seasoned black cast iron skillet, radiating heat, where halved cremini mushrooms sizzle in pools of nutty, golden browned butter. The aroma of toasted minced garlic bits and freshly cracked black pepper fills your kitchen, promising a side dish that might just outshine the main course. This recipe isn’t just about cooking; it’s about mastering the science of the sear.
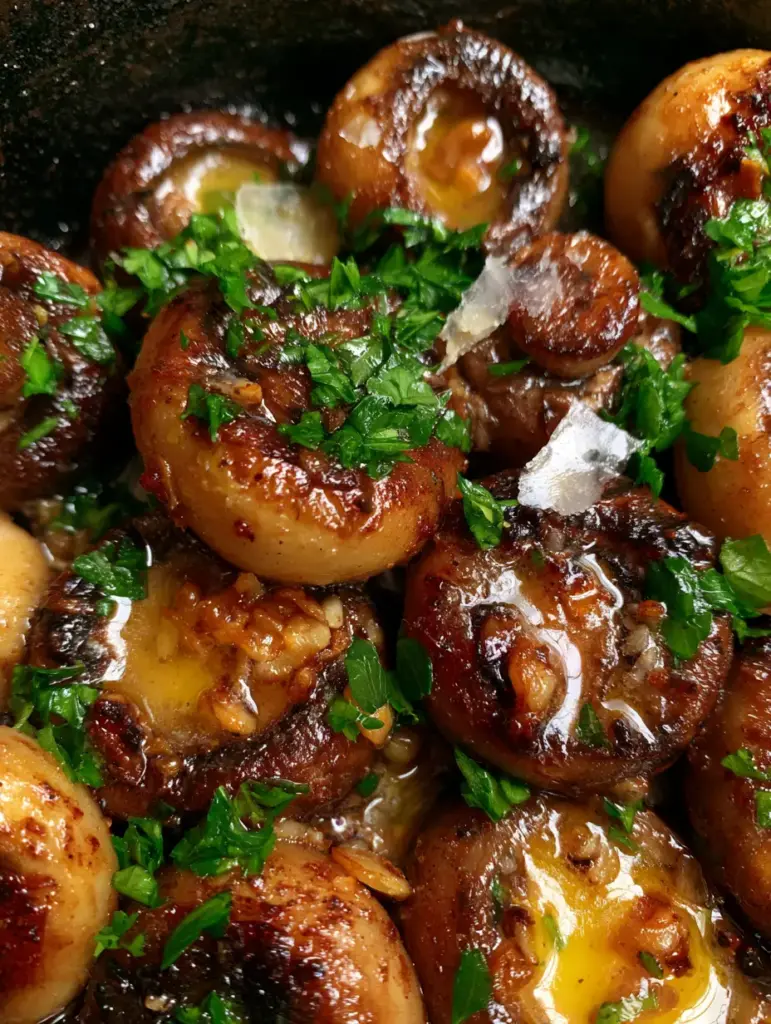
In this guide, we are going to dive deep into the culinary mechanics of the Maillard reaction. We will ensure every mushroom in your pan achieves that specific charred, crispy texture described in our visual blueprint, topped with a vibrant scattering of bright green flat-leaf parsley and large flakes of Maldon sea salt.
Why These Are the Most Flavorful Sautéed Mushrooms You Will Ever Taste
- The Perfect Sear: We utilize high-heat cast iron to achieve a deep golden-brown crust that locks in moisture while creating a crispy exterior.
- Browned Butter Infusion: By allowing the butter to reach a toasted, golden state, we add a layer of hazelnut-like complexity to the earthy fungi.
- Aromatic Depth: The inclusion of tiny, toasted garlic bits nestled in the mushroom crevices provides a crunchy, savory contrast to the tender centers.
- Sensory Balance: Finished with flaky sea salt and fresh parsley, every bite offers a hit of salinity and herbaceous brightness.
Essential Ingredients for the Perfect Glistening Sear
To achieve the level of caramelization seen in professional food styling, every ingredient must serve a specific culinary purpose. We aren’t just tossing things in a pan; we are building layers of flavor and texture.
1 lb (450g) Cremini (Baby Bella) Mushrooms: These are preferred over white buttons because they have a lower moisture content and a firmer structure, which is vital for achieving those charred edges. Halving them provides a large, flat surface area to maximize contact with the hot iron.
2 tbsp (30ml) Neutral High-Smoke Point Oil: We use avocado or grapeseed oil for the initial sear. Butter alone would burn at the temperatures required to achieve a deep brown crust, so the oil acts as a heat-conducting bridge.
3 tbsp (45g) Unsalted Butter: This is added once the mushrooms have released their water and begun to brown. It provides the “glistening buttery sheen” and creates those beautiful golden pools in the pan.
4 Claves Garlic, Minced: We use a generous amount of garlic, minced finely. It toasts in the residual heat of the butter, becoming tiny, crispy, savory nuggets rather than acrid, burnt shards.
1/4 cup (15g) Fresh Flat-Leaf Parsley: Chopped finely, this adds the “vibrant scattering” of green that cuts through the richness of the fats.
Maldon Flaky Sea Salt and Cracked Black Pepper: Large salt flakes provide a targeted burst of seasoning and a beautiful crystalline visual, while freshly cracked pepper adds a floral heat that pre-ground pepper cannot match.
The Best Tools for Achieving Professional Culinary Results
The secret to sautéed mushrooms that look like a macro-photography masterpiece is the equipment. You cannot achieve a deep sear in a thin, non-stick pan; the heat dissipation is too rapid.
Seasoned Cast Iron Skillet: This is non-negotiable for the “visual recipe blueprint.” Cast iron retains a massive amount of thermal energy, ensuring the pan temperature doesn’t drop when the cold mushrooms hit the surface. This prevents the mushrooms from steaming in their own juices.
Sharp Chef’s Knife: You need clean, sharp cuts when halving the cremini to ensure the surface area is perfectly flat. This ensures even browning across the entire face of the mushroom.
Metal Spatula or Fish Turner: A thin metal spatula allows you to get underneath the mushrooms to flip them without tearing the delicate, caramelized “skin” that forms during the sear.
Mastering the Art of the Deep Golden-Brown Sear
Cooking sautéed mushrooms is a lesson in patience. Most home cooks move the mushrooms too much, which prevents the Maillard reaction from occurring. Follow these steps to ensure your dish matches the “unedited, authentic handheld smartphone photo” aesthetic.
Preparing Your Cremini for Maximum Surface Area
Begin by cleaning your mushrooms. Never soak them; mushrooms are like sponges and will absorb water, making it impossible to get a crispy edge. Instead, wipe them with a damp paper towel.
Halve each mushroom through the stem. By keeping the stem attached, you maintain the structural integrity of the mushroom, allowing for a more uniform sear in the skillet. If they are particularly large, you can quarter them, but halves provide the most dramatic visual result.
Searing to Perfection in a Seasoned Skillet
Place your cast iron skillet over medium-high heat and add the neutral oil. Wait until the oil is shimmering and just starting to wisps a tiny bit of smoke. This is the sensory cue that the pan is ready.
Add the mushrooms in a single layer, cut-side down. Do not crowd the pan. If you put too many in at once, the temperature will drop, and the mushrooms will boil. Leave them alone for 4-5 minutes. You should hear a constant, aggressive sizzle. Resist the urge to toss them until you see a deep golden-brown ring forming at the base of each mushroom.
Finishing with Nutty Browned Butter and Aromatic Garlic
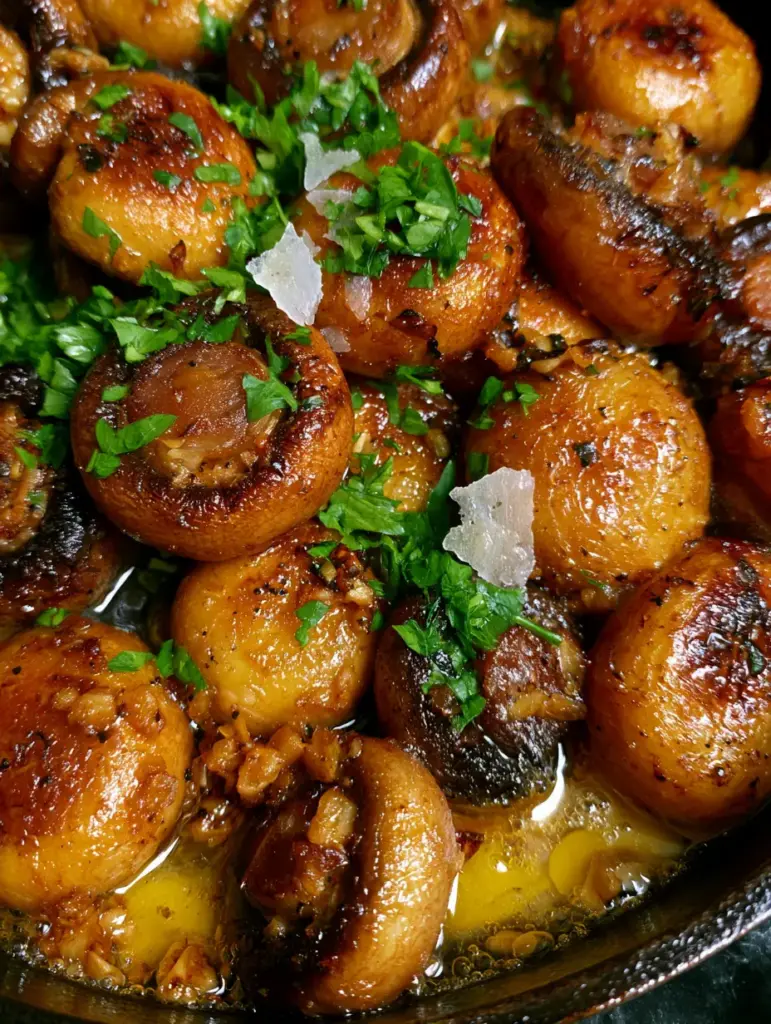
Once the mushrooms are deeply seared and have shrunk slightly in size, add the butter to the center of the pan. As it melts and begins to foam, toss the mushrooms to coat them. The butter will begin to brown, smelling nutty and toasted.
Add the minced garlic. Watch closely as the garlic turns from white to a pale golden brown. This usually takes only 60 to 90 seconds. You want the garlic to be “toasted,” not burnt. Turn off the heat and throw in the chopped parsley, tossing one last time so the residual heat wakes up the oils in the herbs.
Pro Secrets for Restaurant-Quality Fungi
- Salt at the End: Salt draws out moisture. If you salt the mushrooms at the beginning of the process, they will release their liquid immediately and steam. For that “crispy edge,” salt only once the browning is complete.
- The “No-Touch” Rule: Color equals flavor. Every time you stir the pan, you stop the browning process. Let the heat do the work.
- Deglazing Option: If your pan develops too much “fond” (the brown bits stuck to the bottom), a teaspoon of water or white wine can help lift those flavors back onto the mushrooms, though our butter-heavy blueprint usually handles this naturally.
- High Heat is Your Friend: Don’t be afraid of the smoke. Mushrooms can handle high heat, and that’s exactly what creates the charred edges seen in the macro close-up.
Storing and Reheating Your Umami-Rich Leftovers
While sautéed mushrooms are best served immediately while the edges are at their crispiest, they do store well. Place leftovers in an airtight container and refrigerate for up to 4 days.
To reheat, avoid the microwave, as it will make them rubbery. Instead, return them to a hot skillet with a tiny knob of butter for 2-3 minutes. This will help revive the glistening sheen and some of the texture.
What to Pair with These Buttery, Garlic-Laced Gems
These sautéed mushrooms are incredibly versatile. They are the classic companion to a perfectly baked salmon or a juicy steak. The earthy flavors also pair beautifully with tangy balsamic chicken for a quick weeknight meal.
For a vegetarian feast, serve them alongside crispy sliced potatoes or as a topping for a decadent pasta. If you are exploring vibrant Asian dinner recipes, these mushrooms can be adapted with a splash of soy, though this specific butter-garlic version is a Western steakhouse classic.
Frequently Asked Questions about Searing Mushrooms
Yes, but cremini (baby bella) mushrooms have a slightly deeper flavor and firmer texture, which holds up better under high-heat searing for that characteristic charred edge.
No, mushrooms are porous and absorb water easily. Washing them makes them soggy and prevents them from browning. Instead, wipe them with a damp paper towel to remove any dirt.
Always salt at the very end. Salt draws out moisture; if you add it early, the mushrooms will release liquid immediately, making it impossible to achieve a golden-brown crust.
Rubbery mushrooms are usually caused by overcrowding the pan or cooking at too low a temperature. This causes the mushrooms to steam in their own moisture rather than searing. Use a large cast iron skillet and high heat.
Butter has a low smoke point and will burn at the high temperatures needed for a sear. We start with a high-smoke point oil for the browning, then add butter at the end for flavor and sheen.
The Definitive Garlic Butter Sautéed Mushrooms Recipe
Sautéed Mushrooms: The Ultimate Deeply Caramelized Garlic Butter Recipe
Ingredients
Equipment
Method
- Wipe mushrooms clean with a damp paper towel and halve them through the stem for maximum surface area.
- Heat oil in a cast iron skillet over medium-high until shimmering. Add mushrooms cut-side down in a single layer. Sear undisturbed for 4-5 minutes until a deep golden-brown crust forms.
- Add butter to the pan. Once foaming and starting to turn golden, toss the mushrooms to coat. Add minced garlic and cook for 60-90 seconds until toasted.
- Remove from heat. Stir in chopped parsley. Season with flaky sea salt and cracked black pepper before serving.
Notes
Ensure the pan is not crowded; cook in batches if necessary for the crispiest edges.
Final Thoughts on Mastering the Skillet
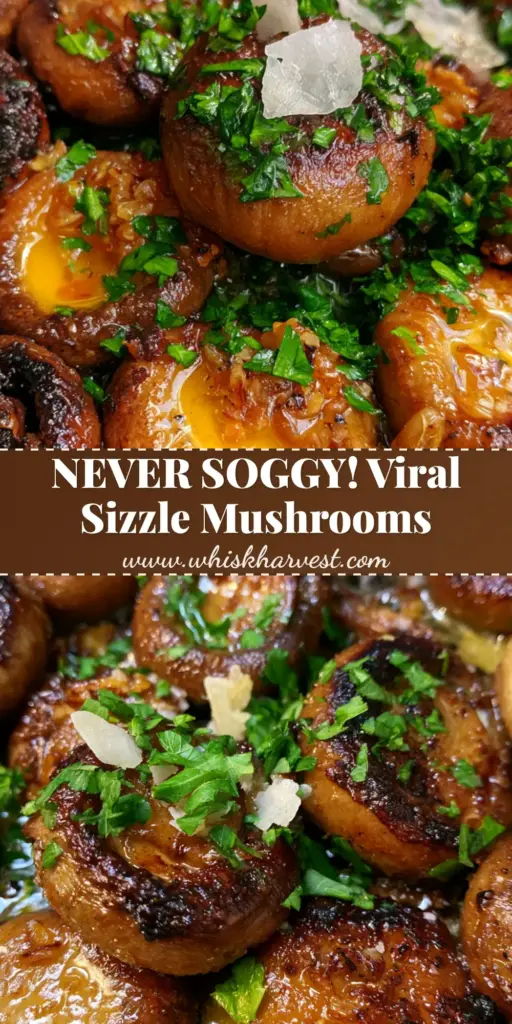
Achieving the perfect sautéed mushrooms is a fundamental skill that elevates your home cooking from basic to “pro-stylist” level. By focusing on the visual cues—the deep brown sear, the foaming butter, and the toasted garlic—you create a dish that appeals to every sense.
Don’t forget to season generously with that Maldon salt right before serving to get that beautiful shimmer under the light. If you enjoyed this deep dive into culinary forensics, please leave a comment below and share your results! For more kitchen inspiration, follow us on Pinterest.